Network Monitoring
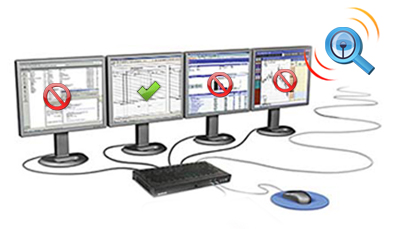
SurveilStar can effectively control the communication among computers, block illegal share, illegal connection and protect network security. Read more...SurveilStar Network Monitoring Features
The network management feature enables IT administrator to monitor network status in real-time, and quickly diagnose and fix network problems. Administrator can allocate different bandwidth to different users/computers; block FTP/P2P file transfer, and control file sharing over network.

Features
- Take Screen Snapshots
- Email Monitoring
- Instant Message Monitoring
- Website Visit Monitoring
- Application Monitoring
- Document Monitoring
- Printing Monitoring
- Network Monitoring
- Computer Maintenance
- Data & User Management
Resources
- Complete Online Guides
- Video Tutorials
- SurveilStar Testimonials
- Deploying SurveilStar
- SurveilStar Home Edition
- Free Activity Monitor
- Free Email Recording
- SurveilStar Press Release
- Version Comparison
- Feature Module Comparison
- 日本語
- français
Topics
How to Monitor and Control Network Connection
Network Traffic Policy is used to control and allocate corporate network bandwidth. The bandwidth can also be controlled based on the specified IP range or network port. SurveilStar can allocate different bandwidth to different users, or completely block certain user’s connection to LAN and the Internet.
For instance, if you find some guy is occupying too much network bandwidth downloading a 4.7G high definition movie, you can temporarily limit his download speed to 0K/s, or 5K/s, if you are generous enough. At the meantime, SurveilStar can also send a warning message to the trouble-maker to stop abuse the network.
Are you looking for a solution to control network usage? e.g. block network share. Here we will show you how easy to block network share.
How to block network share?
Login SurveilStar Console, select the target computer (group) that you want to apply the policy. Navigate to Advanced Policy > Network
Click ![]() button to add a policy to block network share.
button to add a policy to block network share.

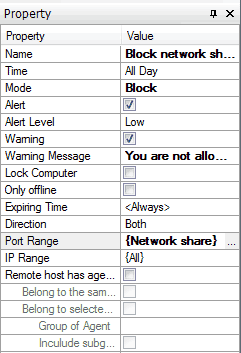
Go to Property panel. Enter policy name. Select "Block" Mode. Check both "Alert" "Important" and "Warning" options. Enter Warning Message. Select "Network share" from Port Range class.
Click ![]() button to save and apply block network share policy settings.
button to save and apply block network share policy settings.

When end-users attempt to share file within the corporate network, SurveilStar will prompt a warning message box to notify the users.
The Alert message will also pop up if SurveilStar console is running.
How to custome network ports classes?
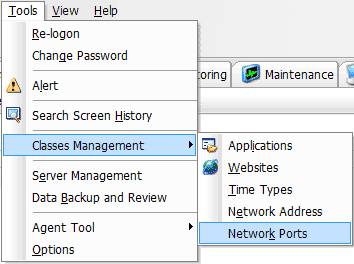
Navigate to Tools > Classes Management > Network Ports

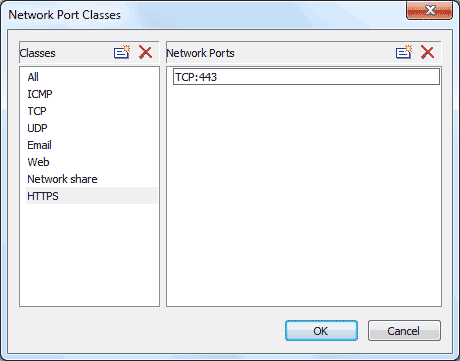
In the open Network Port Class window, by defaul, there are seven classes: All, ICMP, TCP, UDP, Mail, Web and Network Share. The classes All, TCMP, TCP and UDP cannot be added or amended their settings while others can add and amend. Except the default classes, System administrator can create port classes and input the target control ports manually. All defaults port settings cannot be deleted or renamed, howerver, the manual added classes can be deleted or renamed.
Click ![]() to add a new port class, click
to add a new port class, click ![]() to add the network port, and then click Ok.
to add the network port, and then click Ok.
